Tuesday, 20 May 2014

EOS New Adult Brown Circle Lens Review

A while ago I bought these lenses from Honeycolor to use with my Mirai Kuriyama cosplay, and I just got around to trying them out now! I thought I'd do a review of them as well~
 Since Mirai's eyes are a kind of yellow/brown, I thought these lenses would be perfect. They are the EOS New Adult Brown and although they're called brown, they look yellow in person.
 This is what they look like with only one lens in so you can see the difference. As you can see, they do enlarge my eyes, but being only 14mm in diameter it's not too unnatural, which is good for cosplay.
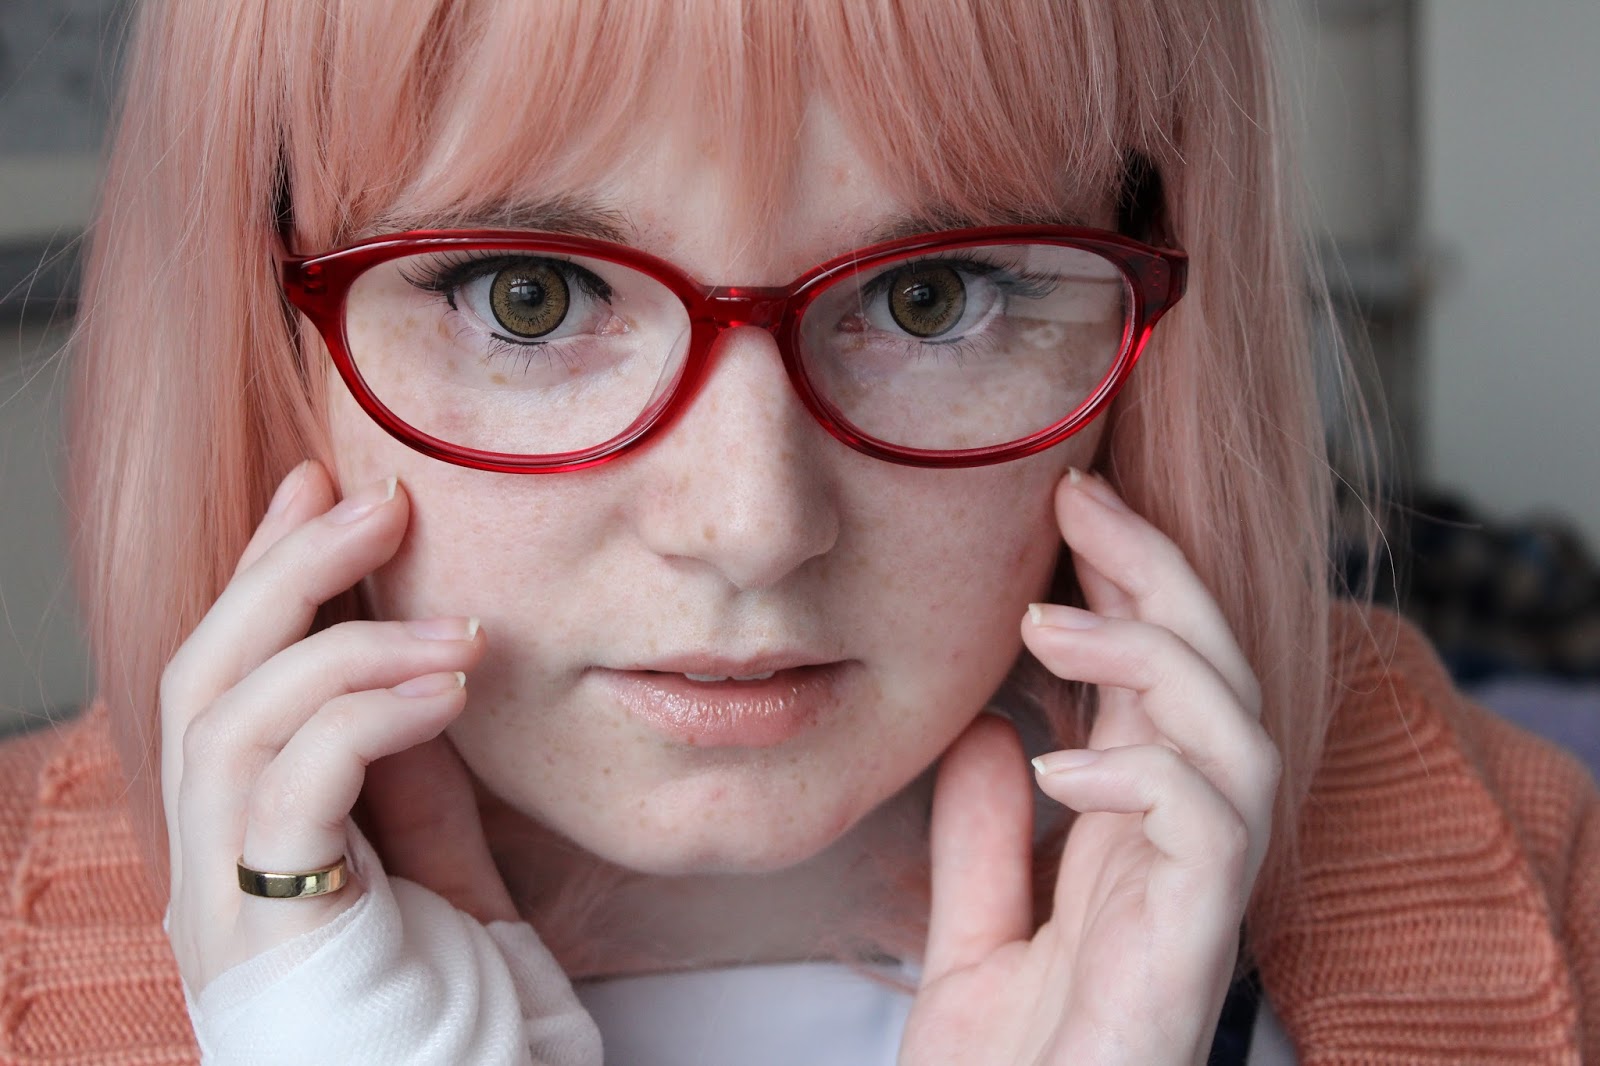
 And this is what they look like together. The colour blends well with my eyes, which I was quite surprised but happy about! And as I hoped, they're not too brightly yellow, and kind of look like a hazel-ish brown, which is perfect for my cosplay.

 I tried out makeup for my cosplay too, and just like when I tried out my lenses for my Ryuko cosplay, I had a little photoshoot~

 And with that my Mirai cosplay is finally completed! I had to buy a new wig since the one I had was too short to curl under my chin like her bob hairstyle, so I like this one much better. Plus the colour is accurate! (I bought it from ebay)

 I'll be wearing this next month, hopefully at Yorkshire Cosplay Con and definitely at Sunnycon, along with my Ryuko cosplay! If you're going, feel free to say hi!
Overall thoughts of the lenses:
Colour: 4/5 It's exactly as I wanted, but some may think they're not bright enough
Comfort: 4/5 When I first put them in my eyes were all watery but they're about as comfy as usual lenses
Enlargement: 3/5 Surprisingly good enlargement, even if I don't really need it!

Thursday, 1 May 2014

Blippo Kawaii Shop Review

I recently came across this really cute online store called Blippo, they sell a lot of different things from Japanese fashion magazines, to stationary, to DIY candy kits! I contacted them to see if I could do a review and they very kindly sent me these items for me to review, and I will be doing demo videos on Youtube very soon!
Everything was sent in a box filled with packing, so the items were very safe when travelling. It was sent on the 23rd, and arrived today on the 30th so it's very quick shipping too! Here is everything I received:
http://www.blippo.com/mobile-accessories/keitai-decoden/pearls-2mm-colorful.html
http://www.blippo.com/meiji-diy-apollo-chocolate-kit.html
http://www.blippo.com/mobile-accessories/keitai-decoden/cupcake-cabochon-craft-supplies-5pcs.html
http://www.blippo.com/mobile-accessories/keitai-decoden/red-white-bow-cabochon-craft-supplies-5pcs.html
http://www.blippo.com/mobile-accessories/keitai-decoden/popsicle-cabochon-craft-supplies-5pcs.html
 First I received this Apollo DIY chocolate kit. I've never tried this kit before, and I also haven't eaten the Apollo chocolates before, so I'm very excited to try this! It'll be fun to decorate the little chocolates~
 The instructions are in Japanese, but there are pictures so they are very easy to understand. There is also a video on Blippo's website showing you how to make the kit if you get stuck!
 Next I have these tiny coloured pearls, which are meant for nail art but I'll be able to use them for decoden and for my resin jewellery. They come with a little bottle of nail glue, which I could use for nail art if I wanted.
 The pearls come in a cute container that is easy to open and good for storage. They are very tiny and cute, but also have a lot of static so they stick to things a lot! They're a little fiddly but very pretty.

 I also received these cute cabochons which I can use in decoden! I'll be doing a decoden demo video featuring these on Youtube, and I have a good idea of what I can demonstrate~
Lastly I was sent this cool Blippo keychain, which I believe everyone receives with their order. I like the design of this, it's pretty cute!
Overall I really liked the items I was sent, and I can't wait to try them out properly! Don't forget to check out Blippo's website because they have lots of cute things, and it's free shipping internationally! 

Tuesday, 29 April 2014

Korean Beauty Products Haul

I recently ordered a few beauty products from EyeCandy's so I could try them out and do reviews on them! 
 This is everything that arrived in my package, I do have a problem with it however, as I'd ordered the Etude House Bebe Foot Mask and it hasn't arrived. I've contacted them about this so hopefully I'll hear back soon!
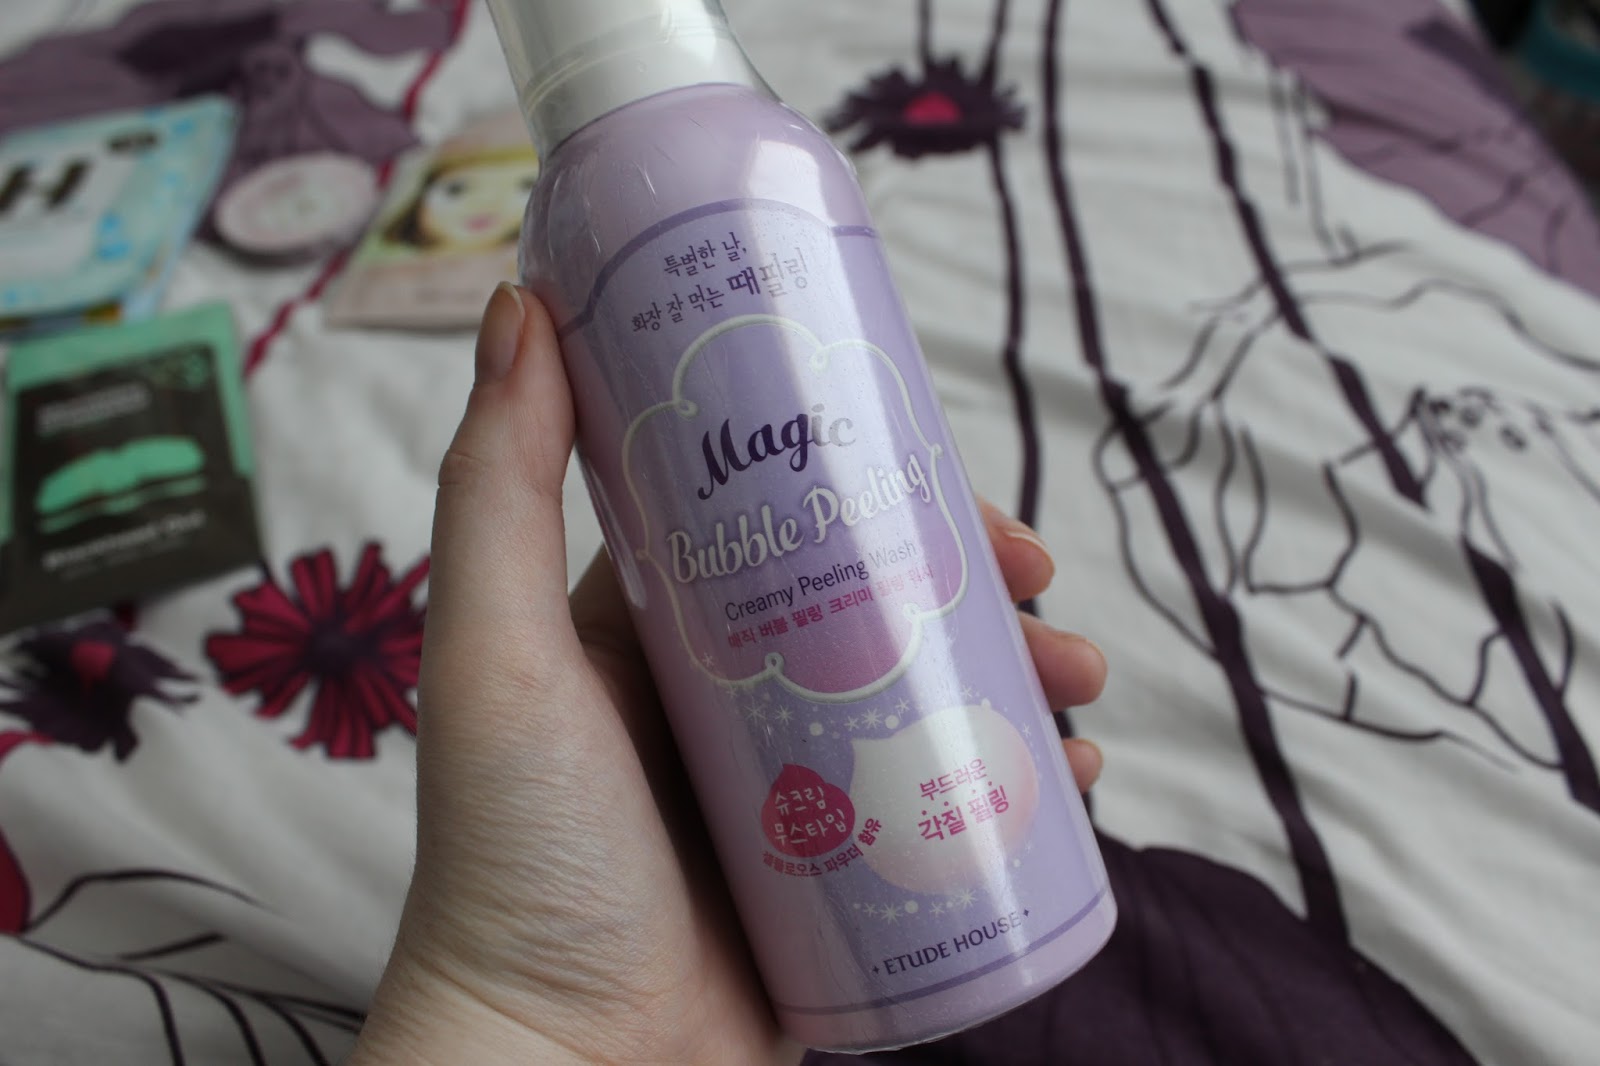
 The first thing I have is the Etude House Magic Bubble Creamy Peeling Wash, although I had actually ordered the Etude House Magic Bubble Brush Peeling Foam which is more expensive than the wash and comes with a brush. I've contacted them about this also so hopefully it can be resolved!
 There's a nozzle at the top and English instructions on the can.
Next is Too Cool for School Morocco Ghassoul Blackhead Out. You get 11 strips in the pack and they're designed to go on your nose to remove blackheads.
 There is an English ingredients list but no English instructions, but luckily EyeCandys has instructions on their website.
 Next I bought 5 of the Etude House Collagen Eye Patch AD since there was an offer if you bought 5 of them. They're eye patches designed to brighten the skin around your eyes.
 There are English instructions on the packet.
 Next I bought 5 of the Etude House Alphabet Series I Need You! Sheet Mask but only received 4 of them (again, kind of disappointed with this order there's a few things wrong or missing!) Anyway, I got the Zucchini, Xylitol Forest, Royal Jelly and Hyaluronic Acid face masks, and they all do similar things, but you can get other ones that are supposed to do different things and help different parts of your skin.
 Again, there are English instructions on the packets.
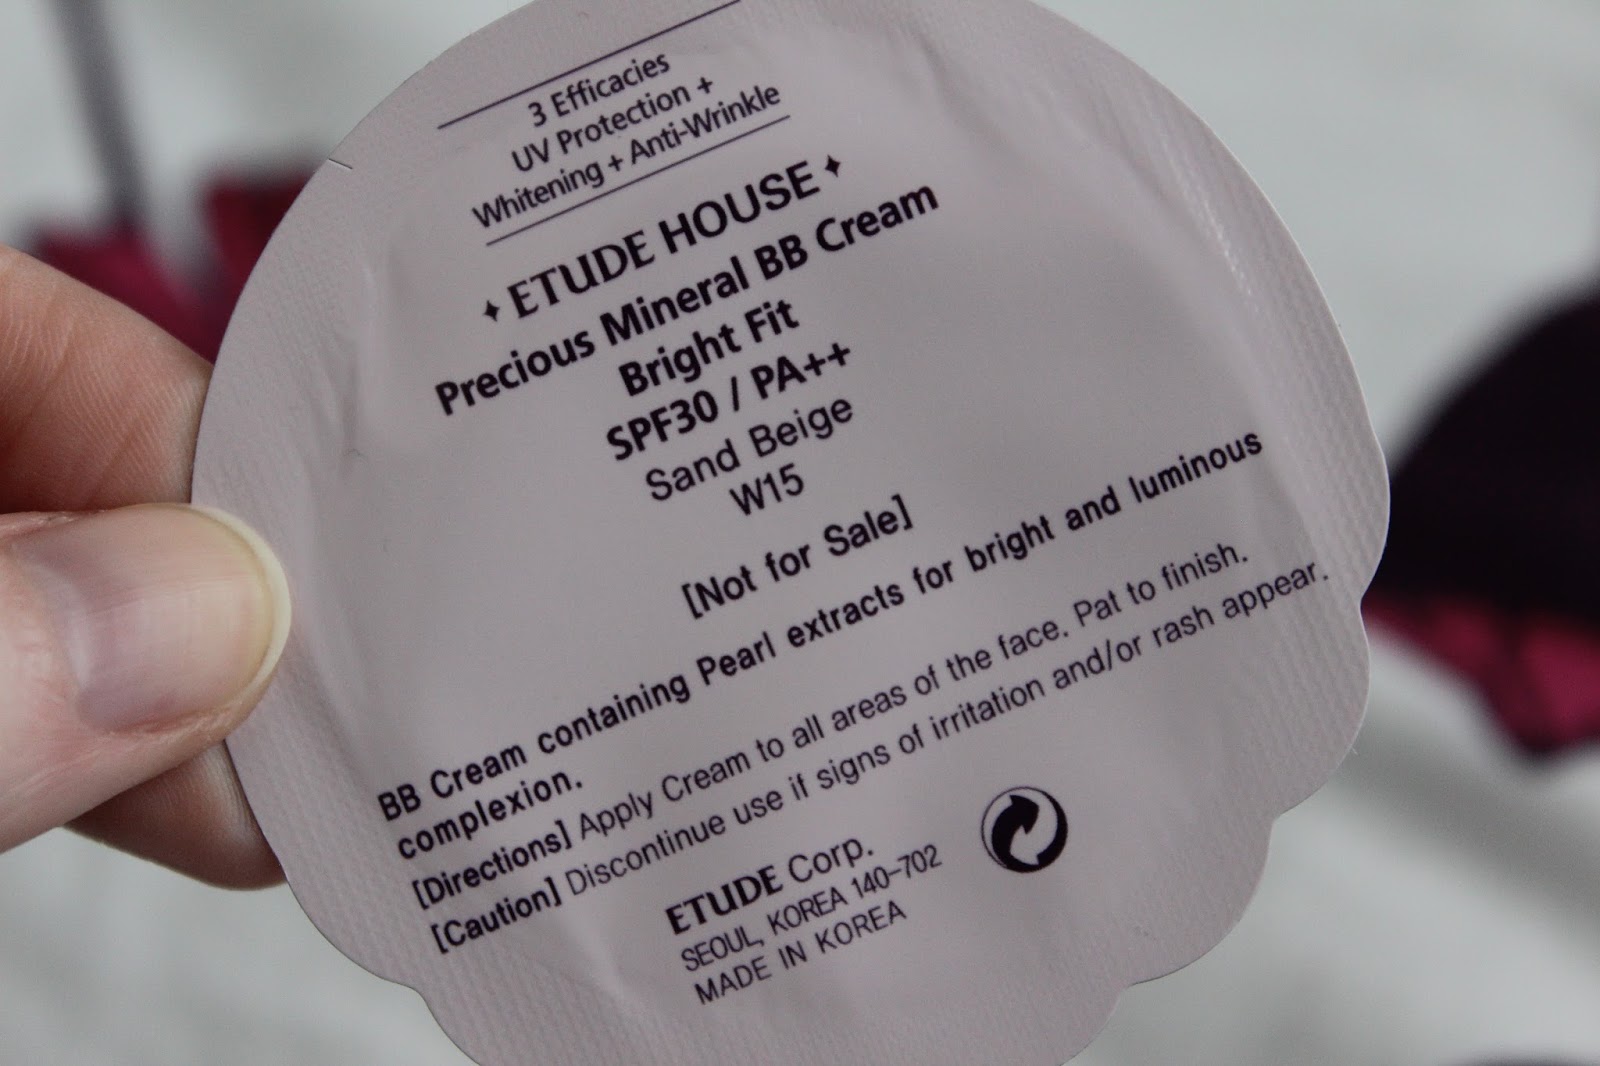
 I also got 9 samples of the Etude House Bright Fit BB Cream (I can't find the full version on the website) Each one was in the colour sand beige, so I hope it matches my skin so I can use these!


So although I had a few problems with my order, I'm still looking forward to trying out these products! Which one would you like to see a review of first?

Saturday, 19 April 2014

Garden Photoshoot

I'm afraid my blog is gonna turn into a solely BJD blog haha~ I'll have some different kinds of posts soon, but I took my Hujoo Action Girl, who I've named Rika, out in the sunny garden today for a little photoshoot!
Here are some of my favourite photos I took of her:


 Love this one! ^


You can see more photos on my Flickr or in Rika's photo album!

Tuesday, 15 April 2014

First BJD Faceup

If you saw my previous post, you'll know I have a new ball jointed doll! She needed a face so as soon as my sealant finally arrived I couldn't wait to get started on her! A quick rundown of my supplies:
 Face mask and respirator from ebay (the spray sealant is pretty toxic) and cotton gloves also from ebay (I use them while spraying, I would use them when touching the doll while doing the faceup but the fingers in them are too long and I can't get the grip I want ;o;)
 Mr Super Clear (MSC) matt spray sealant from ebay. This is pretty much what all faceup artists use. It also took nearly 2 months to get to me D: There are alternatives but this is highly recommended.
 Pastels and watercolour pencils. It doesn't really matter on the brand, just make sure they're oil free and pretty high quality. Any oils will damage the doll and high quality will give them a high pigment and colour better. Not pictured is acrylic paints (I only used black for eyeliner) erasers and pencil sharpener, and an array of brushes.
 I started with the blank head after spraying with MSC 2 times and letting it to dry between coats. This will give the pastels and pencils something to 'grip' onto.
 I started on the lips first. I was nervous and tentative to start with, but I realised you can easily remove mistakes with an eraser. I liked using a putty eraser since it moulded itself to the shape of her face as I erased.
 I also shaded the inside of her ears.
 I think I spent the most time on the lips as I kept not liking what I'd done and re-doing it. I think I'm happy with the result though.
 I started adding a little eyeshadow with pink and a little light brown pastels.
 I used pastels to draw the line for the eyebrows and watercolour pencils to do the little eyebrow hairs. I also used pencils for the lines on the eyelid. You can see I added more blush and eyeshadow.
 A side view shows her ears are a little darker too.
 I drew lines on her lips with a pink watercolour pencil and also small dots in her nostrils.
 The eyeliner was pretty nerve-racking, I was using a tiny brush with black acrylic paint and I felt so shakey! I found that a cotton bud dipped in water could remove mistakes pretty easily, and because I'd used MSC to seal in the previous layers, the pastels didn't rub off with it.
 I used a brown watercolour pencil to add eyelashes to the bottom of the eyes.
 Minor adjustments before sealing for a final time...
 Then adding eyelashes (small ones for human use) using white PVA glue that dries clear.
 A side view shows these better.
I also added some gloss to her lips (I just used the stuff I use on clay charms) and then I could put her head back on, eyes back in and wig on her head!


Not bad for my first try I think! I'll be uploading a progress video of her faceup on my Youtube soon, so look out for it! This girl still needs a name, I'm not sure but I'm thinking Niko would be cute :3